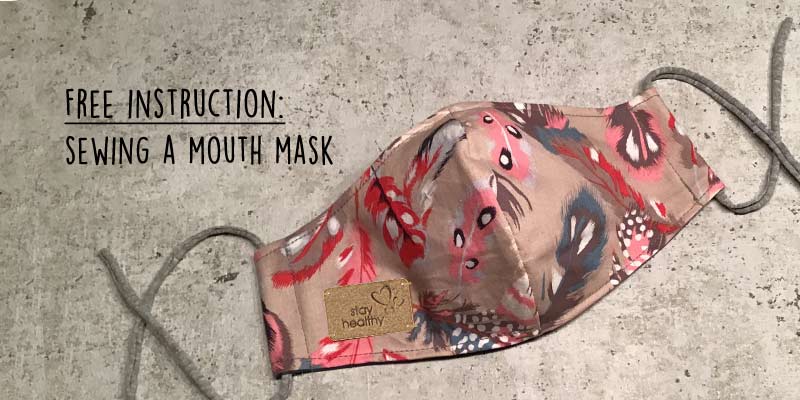
In a step-by-step guide we explain exactly how to sew this mask. Even sewing beginners can take part in this sewing project.
Material:
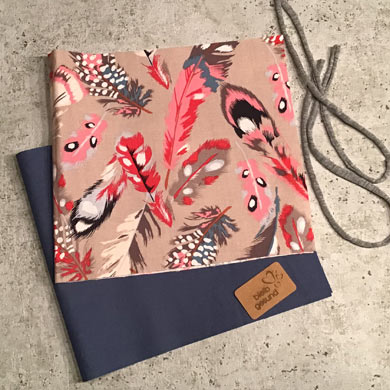
- 1 x outer fabric (cotton) 36 cm x 14 cm
1 x inner fabric (cotton) 36 cm x 14 cm
- 2 x 30 cm – 35 cm Jersey/cotton ribbon or elastic band
(Jersey tape/cotton tape is available as crochet or knitting yarn. Jersey tape can also be cut to size – see tip)
Sewing supplies:
- Sewing machine
- Scissors
- Zigzag scissors
- Clamps / Pins
Step 1
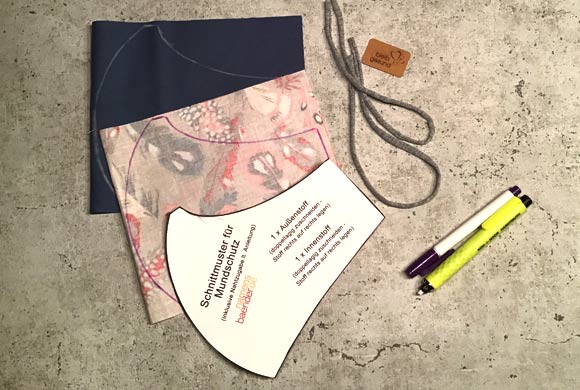
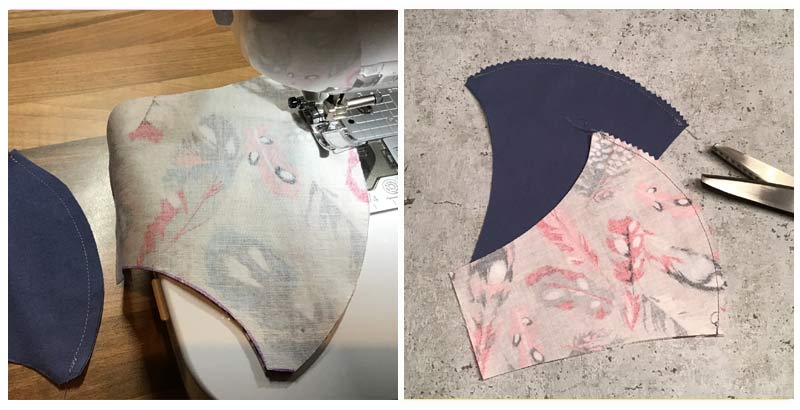
Fold both materials lengthwise right to right. Transfer the pattern to both fabrics and cut out.
Step 2
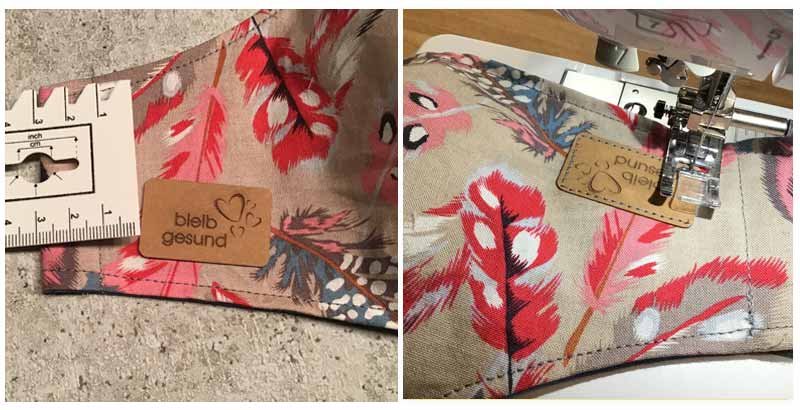
Sew the two cut-out pieces of fabric (for outside and inside) at the curve with a straight stitch “sewing foot width”. Bartack at the beginning and end of the seam. Cut off the excess fabric with zigzag scissors. If no zigzag scissors are available, cut several times at the curve with scissors at a distance of approx. 1 cm to just before the seam (!).
Step 3
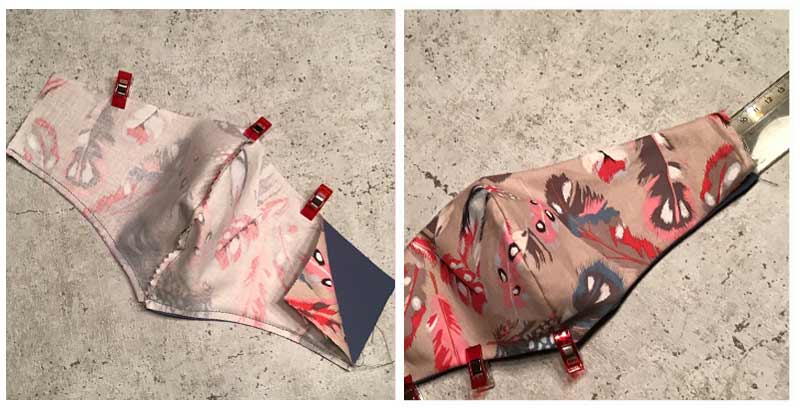
Place the two pieces of fabric right sides together. Make sure that the seams lie on top of each other! Tighten with clamps (needles). Topstitch the two long sides with a short edge (approx. 0.5 cm). Then turn the sewing piece over through an opening on the side. The seam can be worked out very well with a long ruler that you push through the opening. Then pin it again with clamps or needles. For a better fixation topstitch the two long sides again with a narrow edge (approx. 0.5 cm).
Step 4
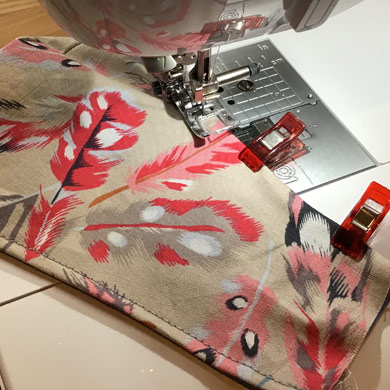
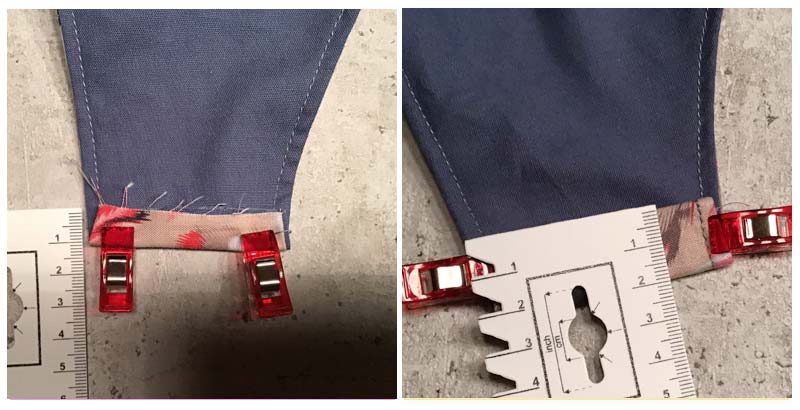
First fold in 1 cm of the fabric on each side. Then fold in another 2 cm. Sew with a straight stitch in a narrow edge.
Step 5
Sew on the matching SnapPap label “stay healthy” parallel to the lower edge (1 cm distance) and approx. 3 cm to the tunnel.
Or simply design your own label in leather, imitation leather or SnapPap. With our configurator this is very easy.
Step 6
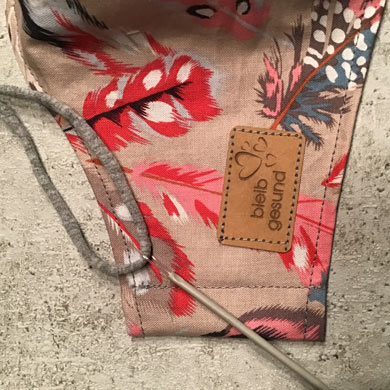
Pull the two straps through the tunnel. After the fitting they are knotted.
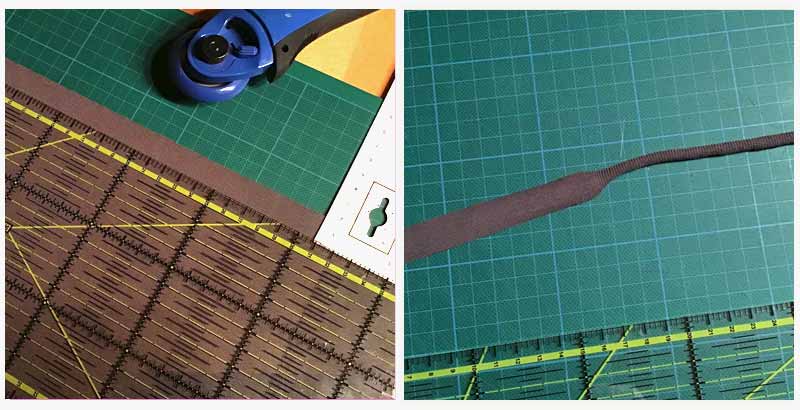
Tip – Making cord from jersey
Old T-shirts or remnants of jersey fabrics are suitable for this purpose.
Lay out jersey on a cutting mat. Cut along the thread/weave edge (cut in the direction in which the fabric can be stretched most).
1 – 2 cm wide strips, best cut with a rotary cutter and a ruler. Then pull strongly at both ends so that the strips curl up.
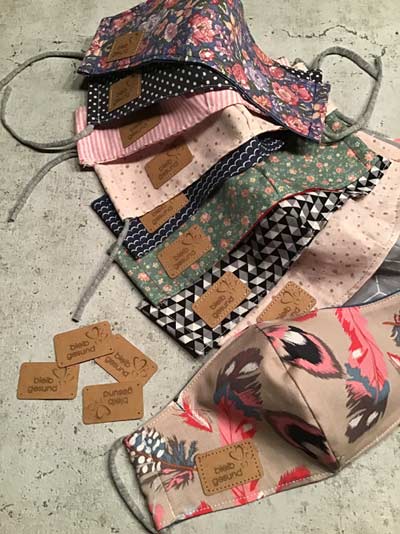
Don’t they look great, the homemade masks for the face? Different fabrics make every face mask unique. The SnapPap label is once again a great eye-catcher with the message “stay healthy”. These unique labels are available in the shop in different materials and colours.